Halloween Candy Bowl
Halloween is just around the corner, and what better way to add a touch of festivity to your home than with a Halloween candy bowl? With a few affordable supplies from Dollar Tree, you can create a unique and eye-catching...
]]>Halloween Candy Bowl
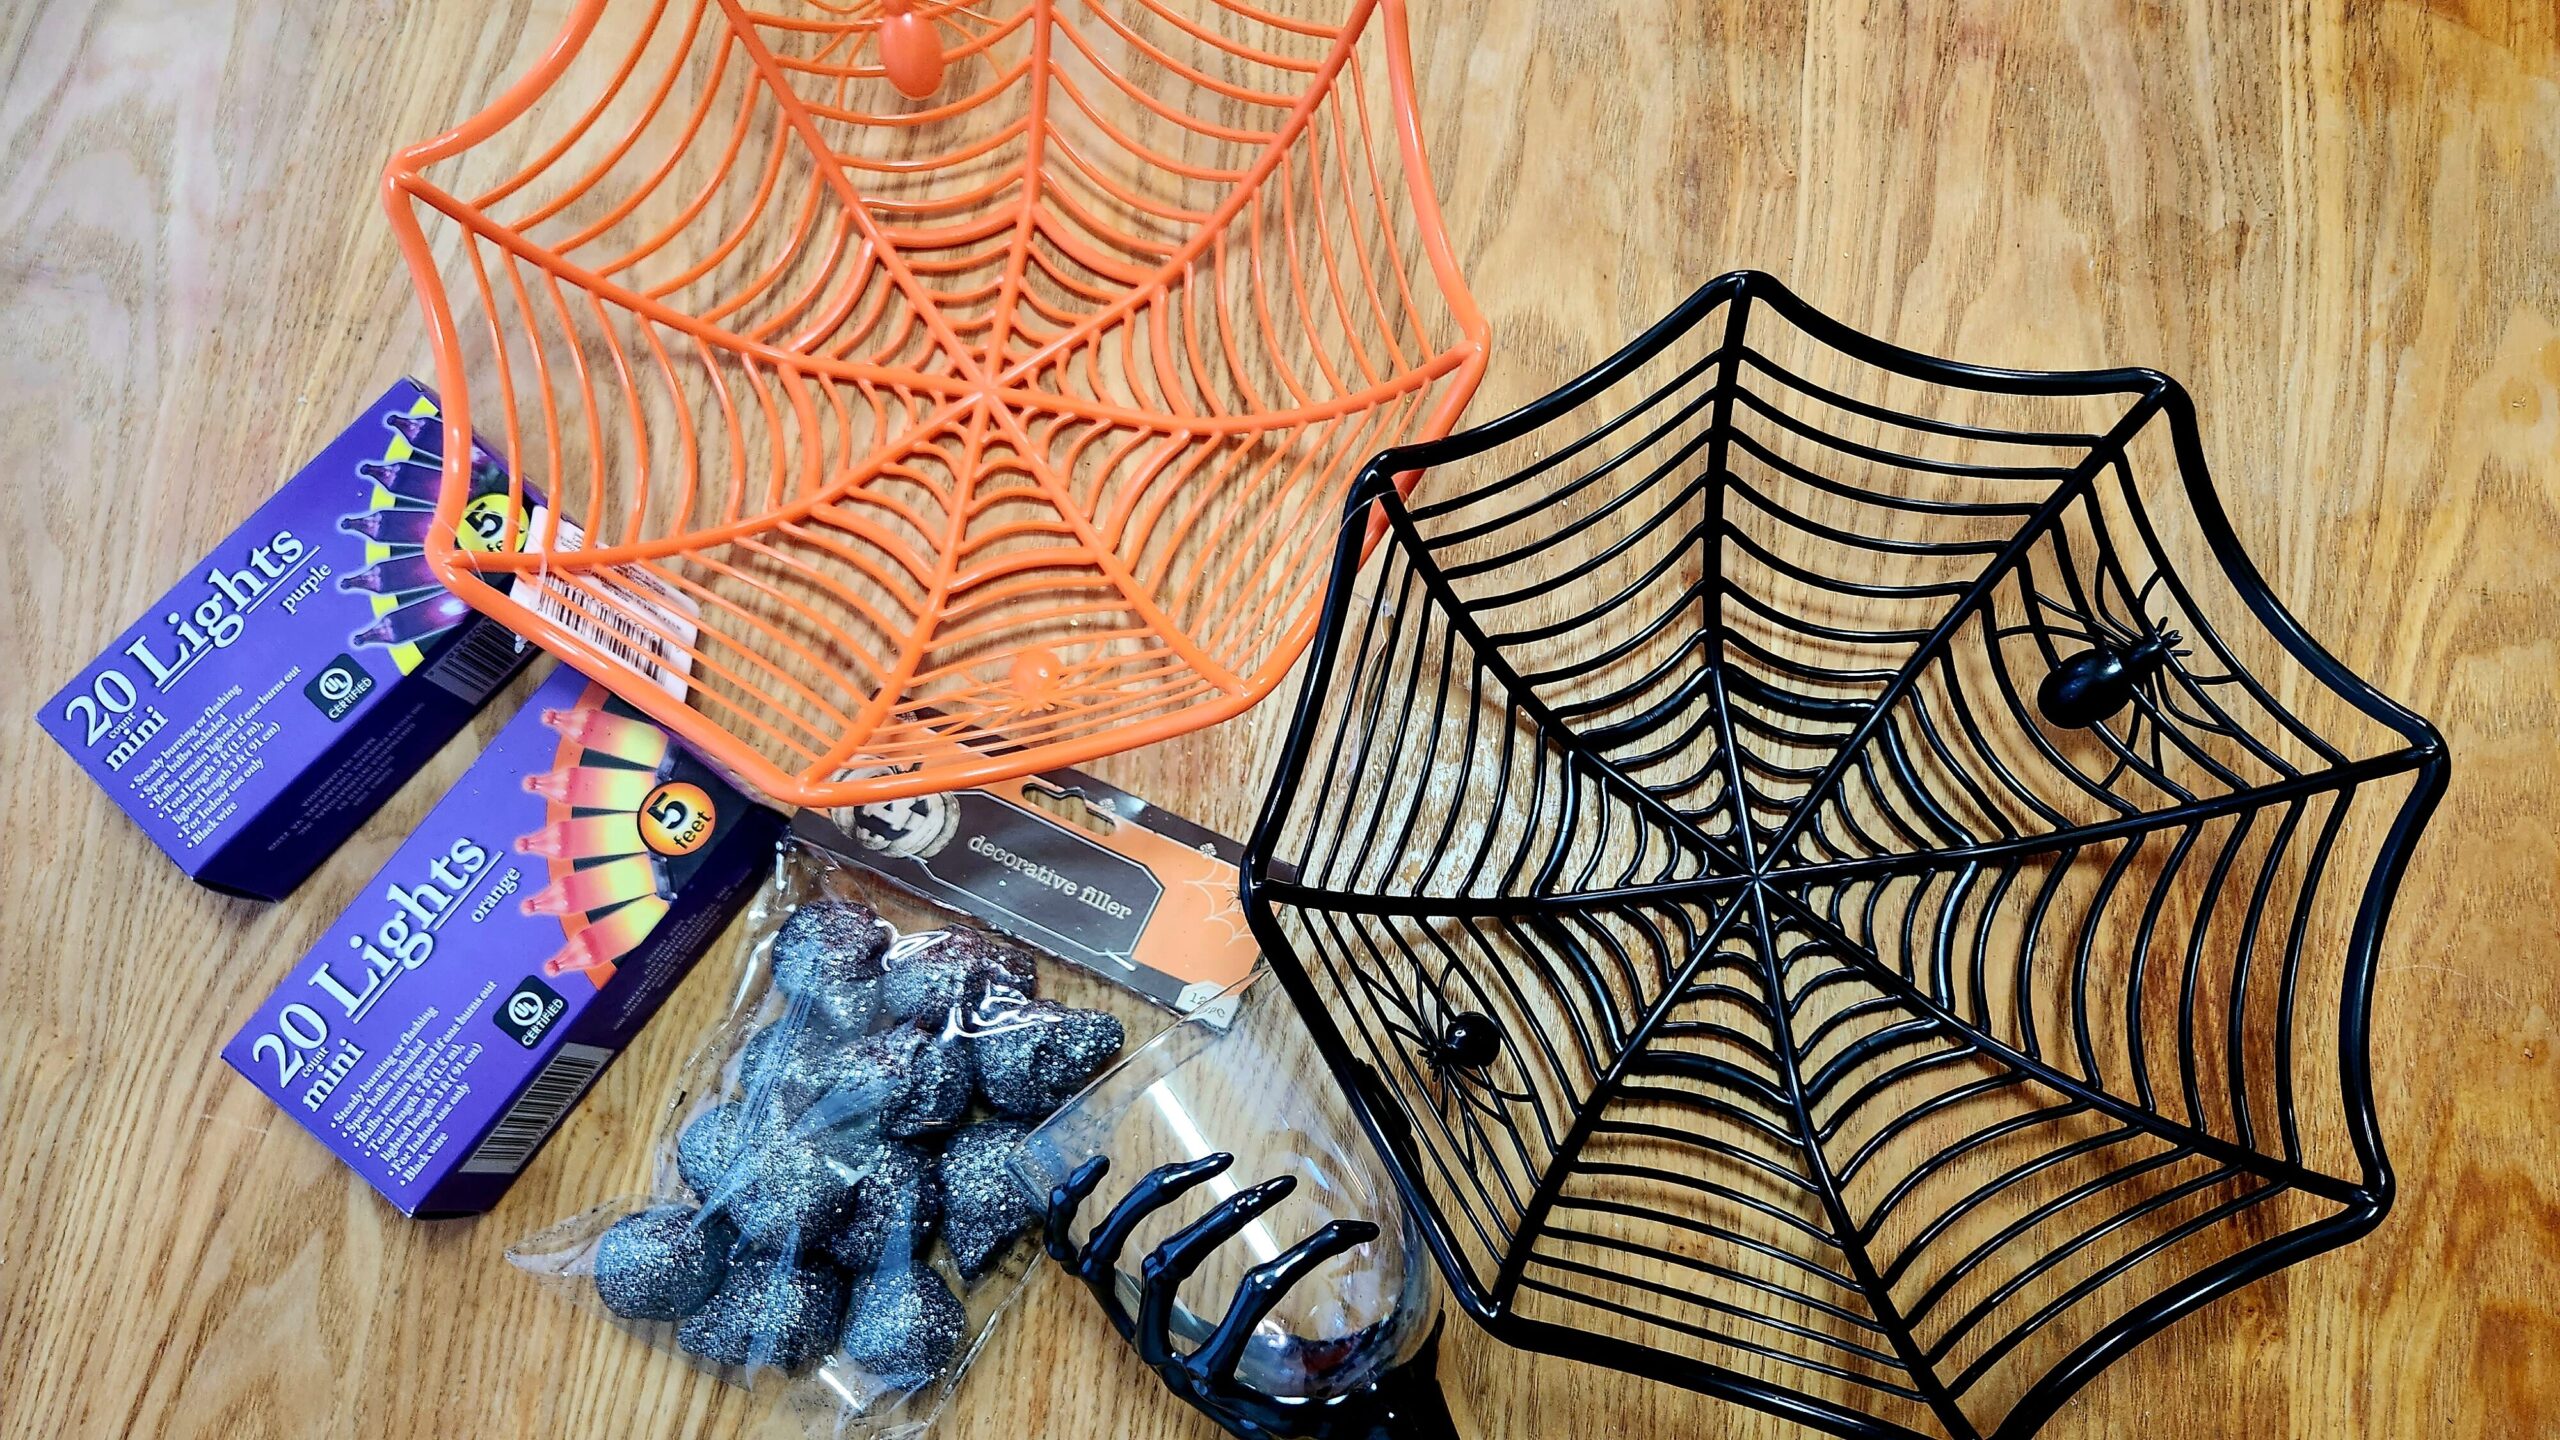
Halloween is just around the corner, and what better way to add a touch of festivity to your home than with a Halloween candy bowl? With a few affordable supplies from Dollar Tree, you can create a unique and eye-catching candy bowl that will impress your trick-or-treaters. In this blog, we’ll show you how to transform two spider web-looking bowls, a package of decorative filler skulls, a faux wine glass, a hot glue gun, and some delicious candy into a captivating centerpiece for your Halloween treats!
Materials You Will Need:
- Two plastic Halloween web-shaped treat bowls (black and orange)
- One package of skull decorative filler
- One skeleton-hand champagne flute
- Hot glue gun and glue sticks
- Assorted Halloween-themed candy
Step 1: Prepare the Supplies
Gather all your supplies from Dollar Tree and make sure you have everything you need for the project. Double-check the glue gun to ensure it’s functioning correctly and gather your chosen selection of Halloween candy to fill the bowl.
Step 2: Assemble the Base
Using the hot glue gun, carefully attach the rim of the faux glass to the spider-web bowl to the base. The spider web pattern should be visible on the outside of the bowl. Hold the pieces together firmly until the glue sets and they are securely attached.
Step 3: Flair with Filler
Fill the skeleton hand champagne flute with skull decorative filler from Dollar Tree. The skeleton champagne flute will serve as a pedestal for displaying your spooky candy. Place the other bowl on top of the rim of the faux glass using the hot glue gun.
Step 4: Embellish and Fill with Candy
Now it’s time to get creative! Enhance your Halloween candy bowl by adding additional detailing if desired, like the purple and orange Halloween lights. Consider incorporating other Dollar Tree Halloween decorations to personalize your creation.
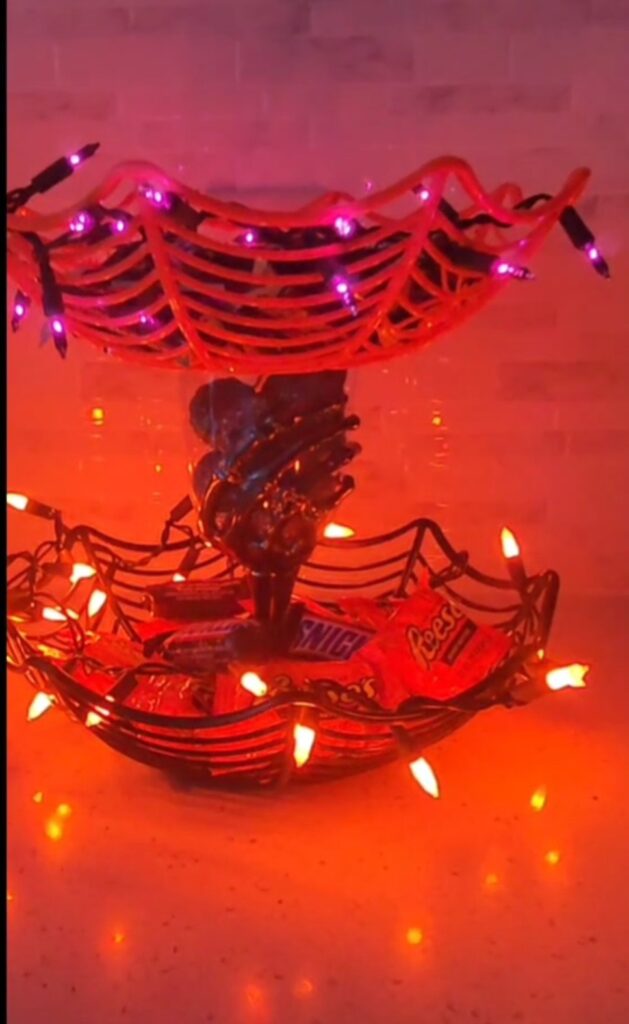
Step 5: Display the Halloween Candy Bowl and Enjoy!
Find the perfect spot in your home to showcase your handcrafted creation. Whether in the foyer to welcome trick-or-treaters or on the dining table during a Halloween party, your unique candy bowl will undoubtedly become a conversation starter. Enjoy the delight on your guests’ faces as they indulge in the sweets you’ve thoughtfully provided.
Creating a Halloween candy bowl from Dollar Tree supplies is not only budget-friendly but also a fun and rewarding DIY project. Let your imagination run wild, experiment with various decorative elements, and make this Halloween truly spooktacular with your one-of-a-kind candy bowl creation!
]]>Fall Pumpkin Centerpiece
If you’re searching for a simple and cost-effective way to spruce up your home decor, this blog post is for you! I’ll guide you through the process of creating a stunning fall pumpkin centerpiece using flowers from Dollar Tree and...
]]>Fall Pumpkin Centerpiece
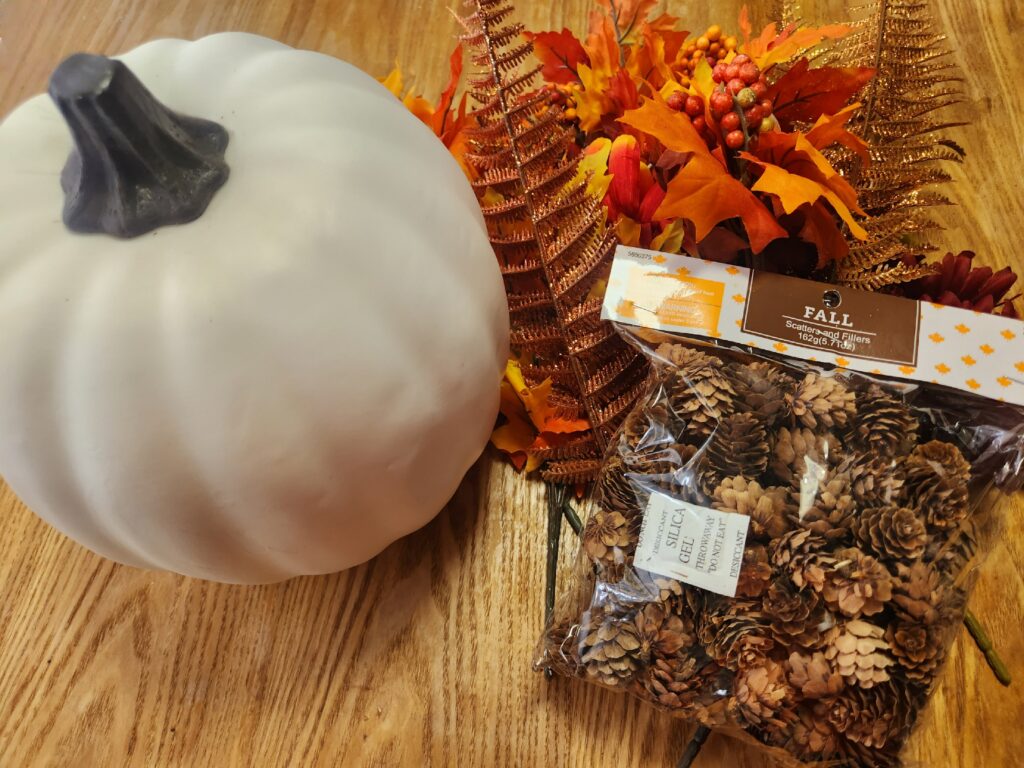
If you’re searching for a simple and cost-effective way to spruce up your home decor, this blog post is for you! I’ll guide you through the process of creating a stunning fall pumpkin centerpiece using flowers from Dollar Tree and a Styrofoam pumpkin from Hobby Lobby. The best part? You won’t need any glue or scissors, making this DIY project easy and hassle-free. Let’s dive in!
*Disclosure: This post may contain affiliate links, which means that I get a commission if you decide to make a purchase through my links, at no cost to you. Please read full disclosure here.
Materials You’ll Need
- Styrofoam pumpkin from Hobby Lobby
- Assorted flowers from Dollar Tree
- Mini pinecones (optional)
Step 1: Choosing Your Flowers
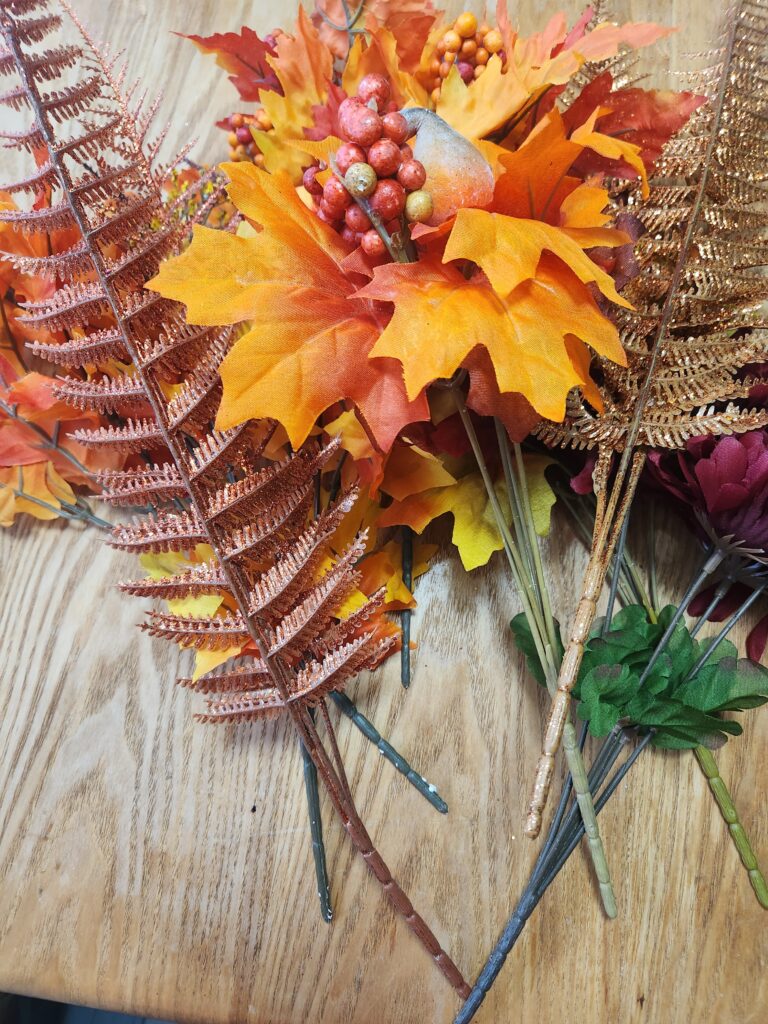
Pay a visit to your local Dollar Tree and browse their collection of flowers. Look for a variety of colors and styles that will complement the autumn theme of your centerpiece. Since no adhesive or cutting is involved, it’s best to select flowers with stems that are long enough to be inserted into the Styrofoam pumpkin.
Step 2: Organizing Your Flowers
Take a moment to organize your flowers and decide which ones you’d like to use for your centerpiece. Group them by color or create a mixed arrangement – the choice is yours.
Step 3: Inserting the Flowers
Now comes the fun part! Simply take each fake flower and insert its stem into the Styrofoam pumpkin. Play around with the positioning and angles until you achieve the desired look. This step requires no glue or adhesive. The flowers should fit securely into the foam, allowing for easy adjustments if needed.
Step 4: Mix and Match
Feel free to mix and match different flower types and colors to add an extra touch of visual interest to your fall pumpkin centerpiece. By combining various styles, you can create a unique and eye-catching display without any additional tools or materials.
Step 5: Display and Enjoy!
Once you’ve finished inserting all the flowers into the Styrofoam pumpkin, find the perfect spot to place your fall pumpkin centerpiece. It could take center stage on your dining table, become a focal point on a sideboard, or add a touch of charm to a coffee table. The possibilities are endless!
Sit back, relax, and admire your beautiful creation. With just a little investment of time and a little over $20, you’ve managed to create an impressive centerpiece that looks far more expensive than its humble materials would suggest.
Remember, the simplicity of this DIY project allows you to easily swap out the flowers with new options as the seasons change. You can create festive centerpieces for Halloween, Thanksgiving, or any other occasion all year round.
So, get ready to impress your guests and elevate your home decor with this effortless and affordable fall pumpkin centerpiece crafted from Dollar Tree flowers and a Hobby Lobby Styrofoam pumpkin. Enjoy the process of creating something beautiful without the need for glue or scissors. Happy decorating!
]]>Creative Baby Shower Gift Basket for a Girl
*Disclosure: This post may contain affiliate links, which means that I get a commission if you decide to make a purchase through my links, at no cost to you. Please read full disclosure here. Introduction If you’re looking for the...
]]>Creative Baby Shower Gift Basket for a Girl
*Disclosure: This post may contain affiliate links, which means that I get a commission if you decide to make a purchase through my links, at no cost to you. Please read full disclosure here.
Introduction
If you’re looking for the perfect gift to give at a baby shower, this Baby Girl Gift Basket is just the thing! It includes everything a new mom needs for her new baby, like washcloths, clothes, and baby mittens. This gift basket is a great idea for anyone who has recently had a baby girl.
Buy a round basket.
Baskets are available in many sizes and shapes, so it’s easy to find one that fits your needs. Baskets can be made of plastic, wicker, rattan, or bamboo. They’re available at your local Walmart, Dollar Tree, craft stores, and online.

Baskets are a great gift for baby showers because you can use them for other purposes after the baby shower is over! You could keep toys or books in the basket until your child is old enough to play with them properly, then fill it with blankets when they’re ready for bed at night.
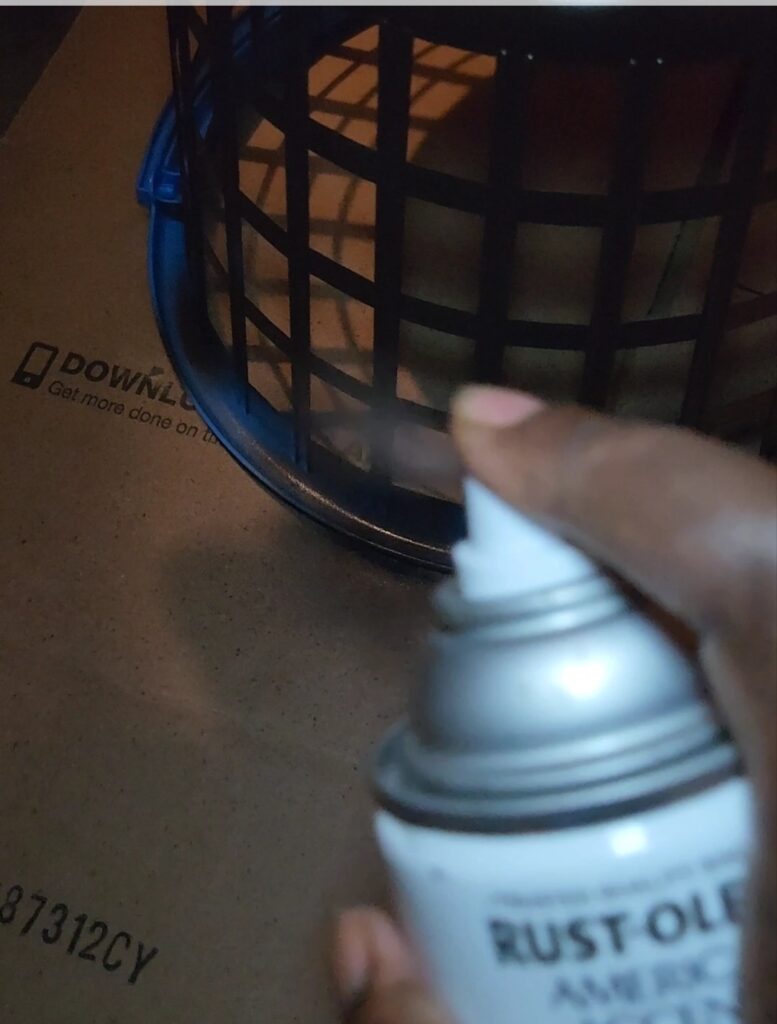
Spray paint the basket to your choice of color.
Spray paint can be used on plastic, so it is safe and easy to use. If you’re using a spray can (as opposed to a spray paint that comes in a tube), be sure to hold the basket far enough away from yourself and the surface you are painting so that you don’t get covered in overspray. I used the spray paint brand Rust-Oleum Spray paint in dark walnut.
Let it dry completely before filling it with goodies!
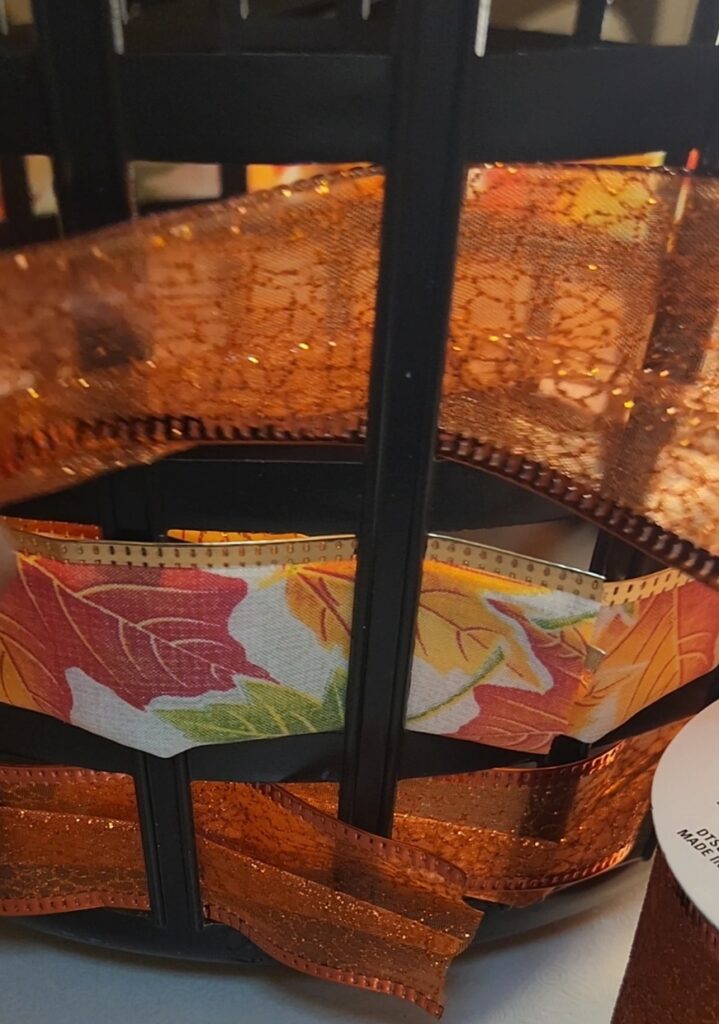
Line the basket with a pretty ribbon.
You can also use ribbon to decorate the basket. The ribbon will add color and make the basket look pretty, so it’s a good idea to use it. For example, I went with a fall theme because it would be different than the traditional pink for a baby shower.
Add a few baby items to the basket.
Add a few baby items to the basket. This is especially important for a girl’s baby shower gift basket, as clothes and accessories are the most popular gifts for girls. You can get clothes that match the theme of your basket or choose more neutral colors if you plan to use this basket later on when she has grown into toddlerhood. Baby washcloths, mittens, and socks are also great additions to any basket!
A new blanket or stuffed animal will make your gift even more memorable because it can be used repeatedly by her or given away as a keepsake once she no longer needs it. And don’t forget about some pacifiers or teething toys that can help calm her down during those fussy moments (and trust us—there will be many).
Conclusion
This baby shower gift basket will make a great gift for any mom-to-be. It’s easy to put together and it can be customized to fit your needs. There are so many options available at stores these days that you can find anything you need in one place!
]]>